Installing WhamBam Flex on Creality CR-10 Max

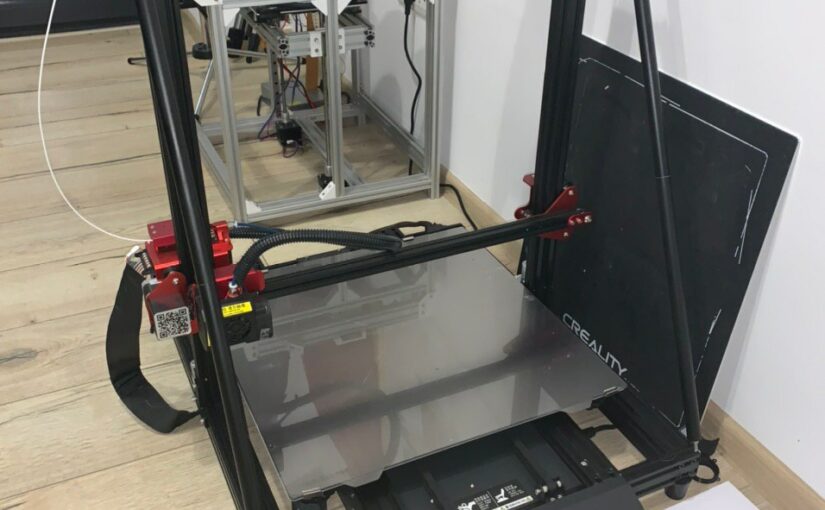
CR-10 Max from Creality is a large printer. One thing i don’t like about it is the printing surface. I’m used to the comfort of Prusa flexible sheet in order to get the models removed easily from the build plate. And on Creality sometimes prints stick too well . So well that i had to take the build plate out and remove them. When printing shields this is annoying and time consuming. So i decided to give a try to WhamBam Flex system . Took around 10 days to get it. I didn’t found any tutorials on how to do it for CR-10 Max so i decided to create a how to so other if they are interested to have a reference point. Took me almost 20 minutes to install it. So here is how to install whambam on creality CR-10 Max:

There are 2 parts of the video ( joined them ) (when shooting the video i forgot to remove the last protective sheet , and after i actually tried to print PLA didn’t stick at all . I figured out what was wrong and added a short video at the end of the first one ) .

So I hope you find this useful.
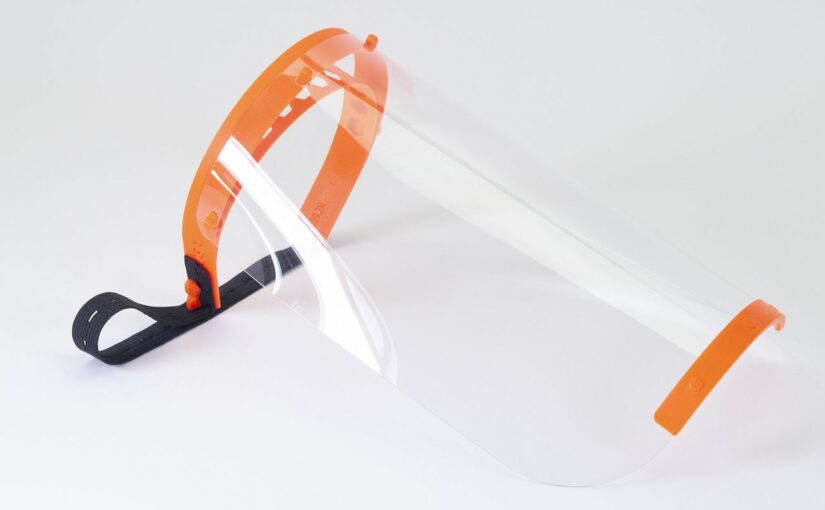
Model 3 -Verkstan

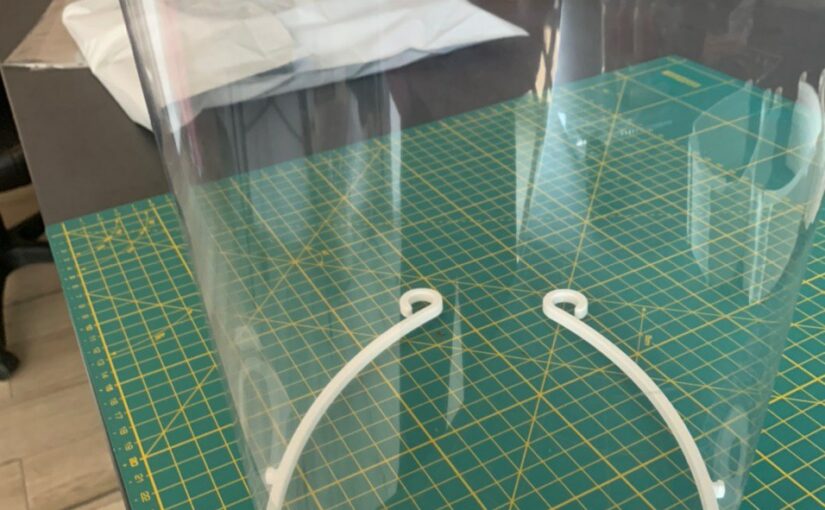
This model is the 3rd variation we try to produce and donate.

We tried to find a design that :

  • Can be printed fast
  • Consume as little material as possible
  • Can be used with 0.15 mm transparent sheets ( way more available on market )
  • Very easy to mount
  • transparent sheet to be very easy to be cut / mounted

We chose a model based on the work done by Verkstan (https://3dverkstan.se/protective-visor/).

STL files, 3d print informations:

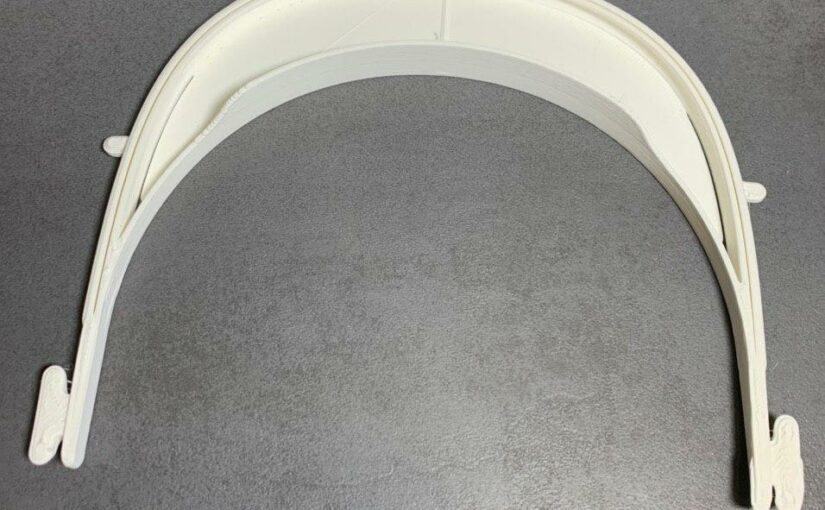
STL file we use to print ( 2 in one print session): Direct link or you can find stackable ones on Versktan website.

It will take approx 33 grams of PLA to produce 2 pieces. This means that from 1 kg of PLA we can print 60 pieces. Print time: 1h for 2 pieces.

Assembly instructions:

It take like 30 seconds to assemble it and can be done by anyone:

How to make the holes and cut the transparent sheet

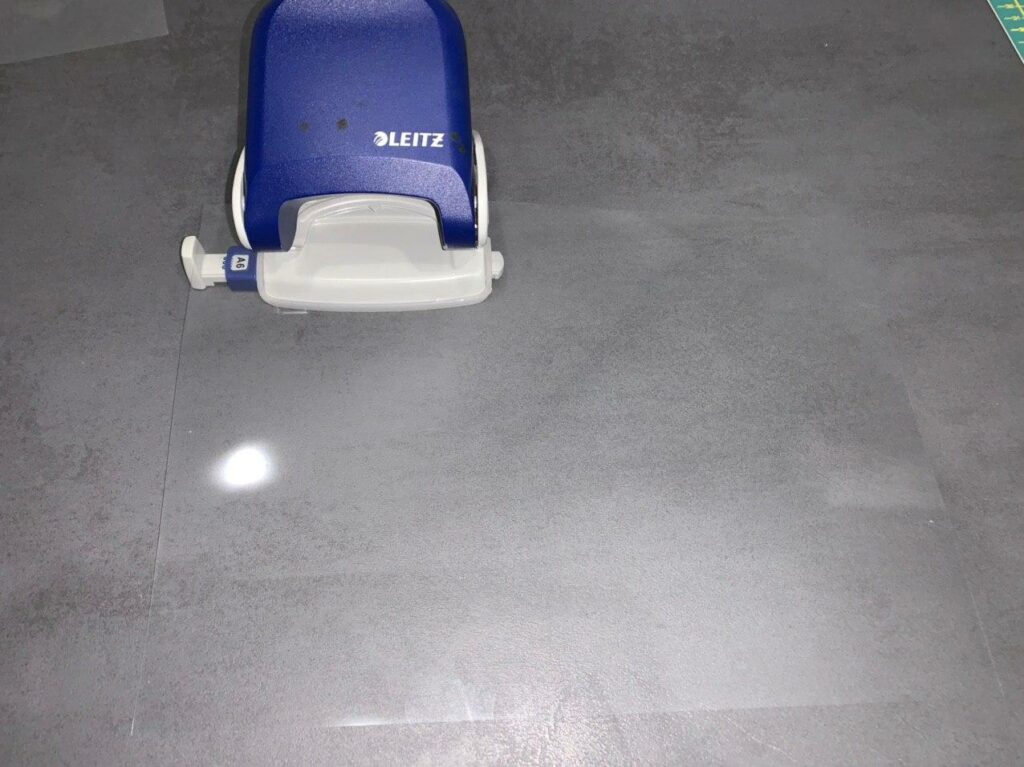
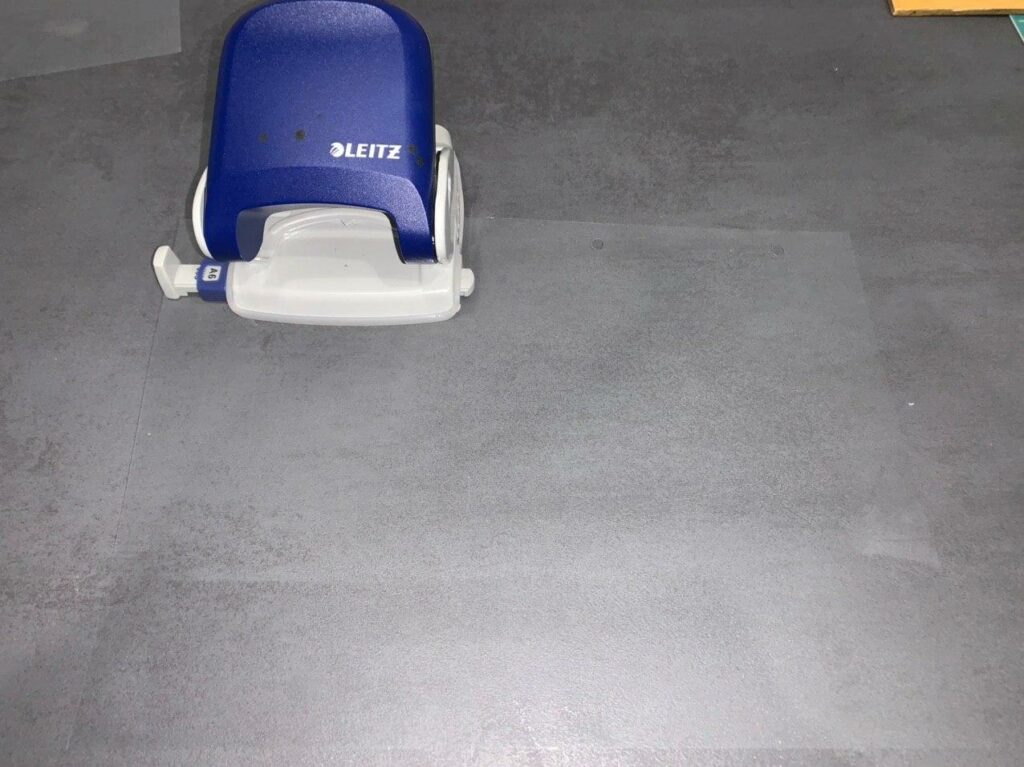
You will need 2 hole punch and scissors. ( We have this: https://www.leitz.com/en-nu/products/hole-punch-leitz-5005-nexxt–2-hole-25-sheets_50050035/ and a normal scissors).

  1. First you need to set the hole puncher to A6:
  2. Punch holes, turn the sheet on the other side and punch holes
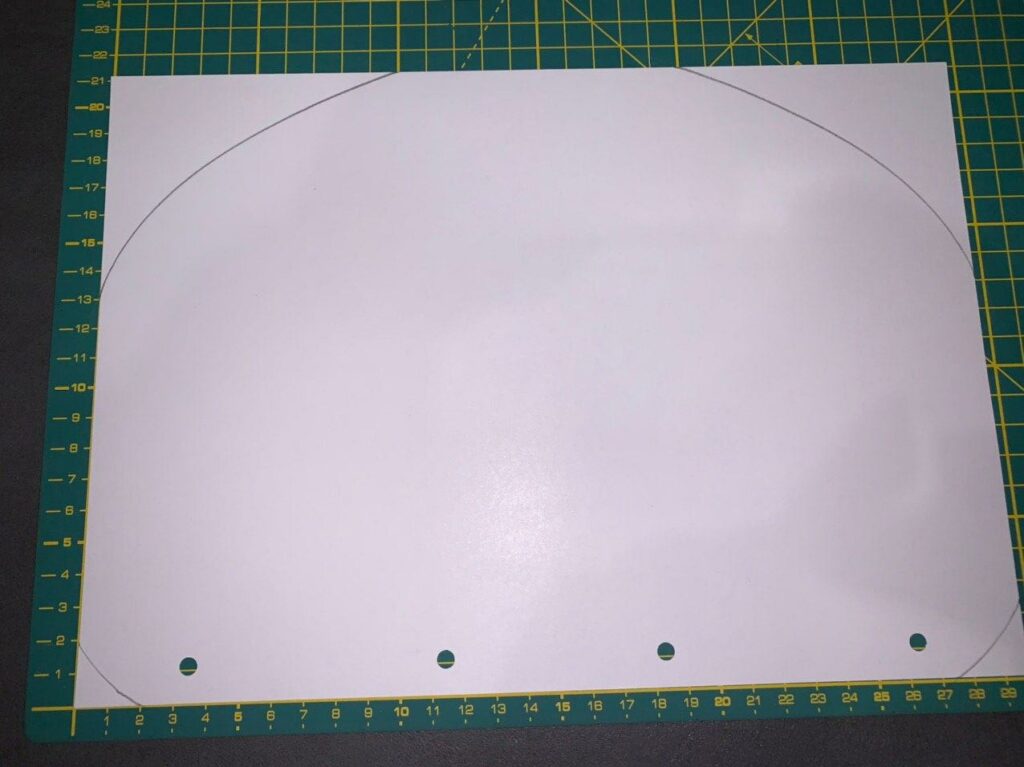
  3. Round the upper corners with scissors
  4. For the lower corners use the below image as reference

How we package them ?

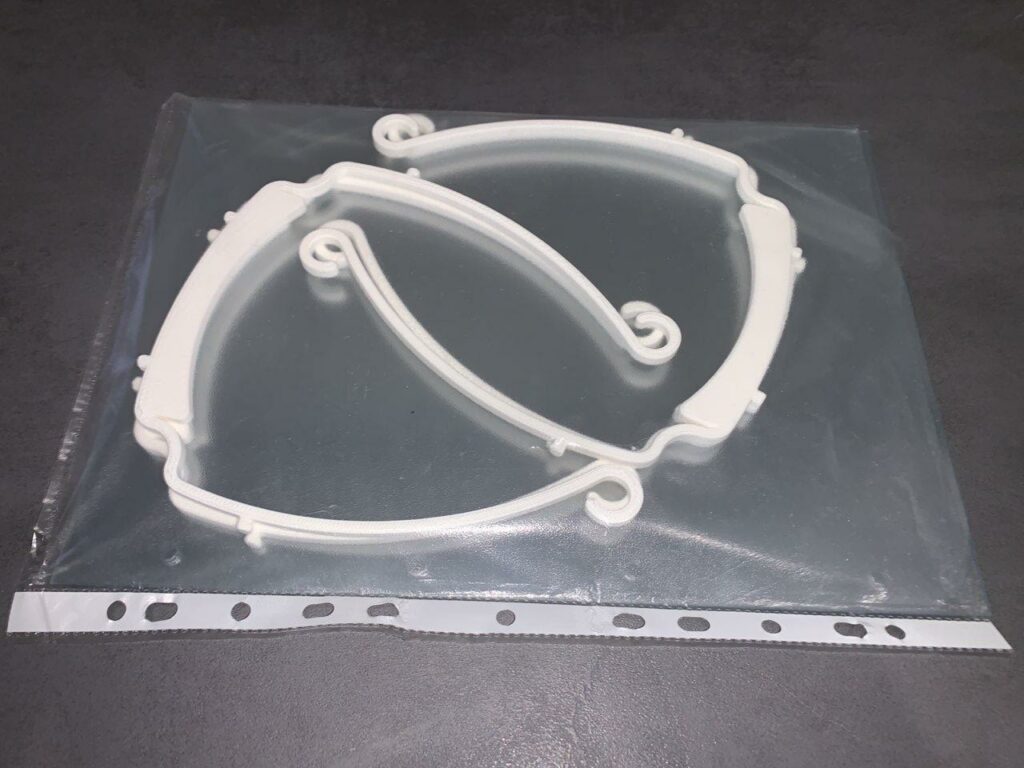
Usually we pack 4 of them in a kit and final assembly is done on site. This saves space and transport fees. We also add a printed paper with instructions, production date and statement that this are donation and not for sale.

Good news / bad news

Bad news first: There is an acute shortage of 0.5 mm transparent PETG sheets in the romanian market.

So we have to adapt / improvise and work we what we can find.

Good news: We switched production to another face shield design that can be used with materials that can still be found.

Model we chose is a remix done by Maria Sgîrcea from Timisoara:

This model can be easily printed. 2 pieces in 1h and 41 minutes , 49 grams PLA used .

STL file here: https://www.thingiverse.com/thing:4246224

Or you can download them from here ( there are some moments when thingieverse doesn’t work so well ).

We are gathering the feedback from medics / lab users in here ( romanian version ): https://docs.google.com/document/d/1mVFrjCFx09vuiuseI7l0PlXwUXNxlncmYf4FLTI3OMk

A production guide will be available soon thanks to our friends from FOR and FabLab.

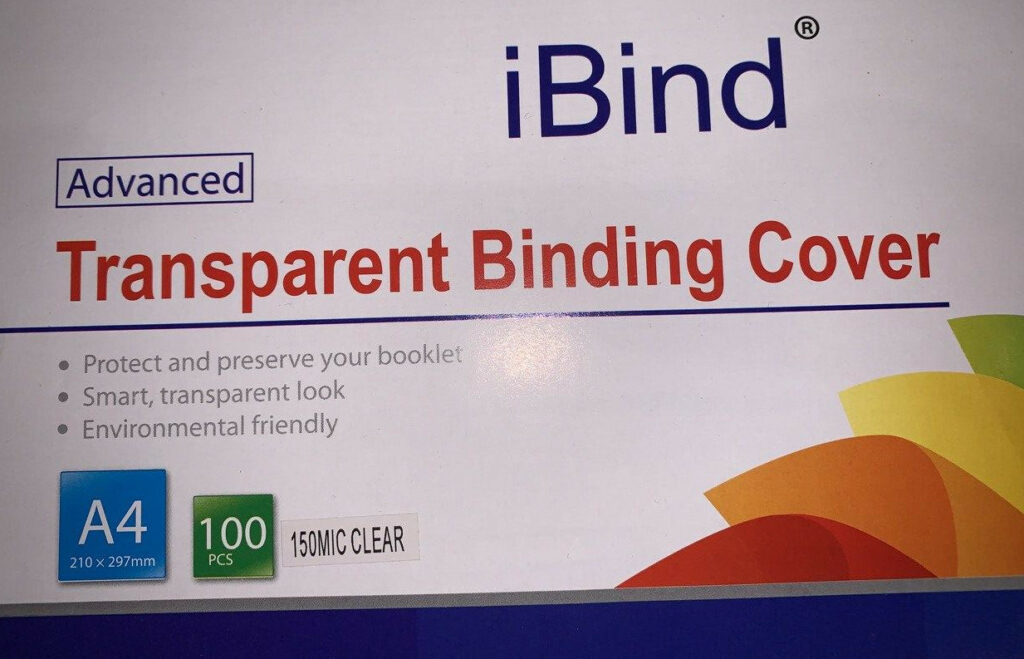
To complete build of this you need the 3d printed part, an A4 transparent sheet ( the one we are using now are:

And some rubber band.

And here is how you assemble them:

Assembly instructions

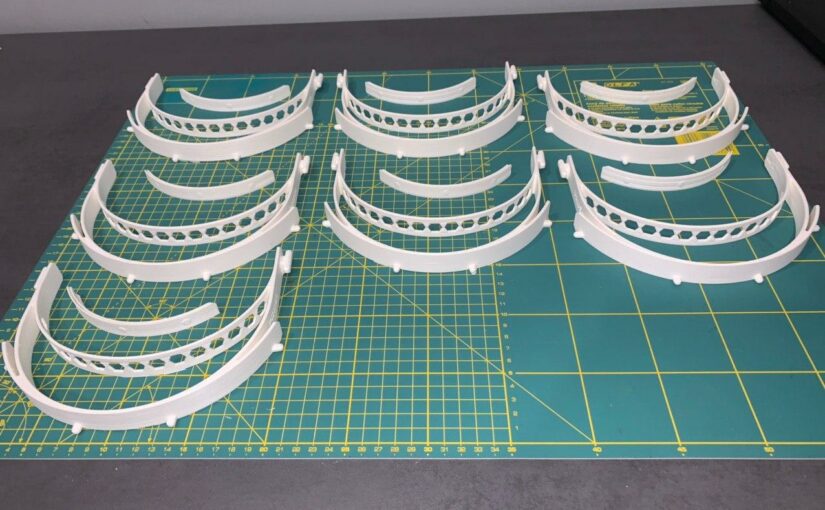
Here some of our results:

3D Printing: TFM Group Software partners FabLab in production of Protective Face Shields for doctors

Starting today 21 March 2020 TFM Group Software joins FabLab initiative to produce and distribute Protective Face Shields for doctors that are fighting covid-19.

Idea is simple: we need to protect our doctors as best as we can. And Protective Face Shields can help.

Model to be produced is: https://www.prusaprinters.org/prints/25857-prusa-protective-face-shield-rc2 . Thanks to Prusa Research for designing this model.

We at TFM will start to put out our 3D Printers to produce as much face shield parts as we can. Parts will be delivered to FabLab for final assembly and delivery.

Technical details:

We will put to work our new finished 3d printer ( HCube CM3D ) and our lab printer ( Prusa mks3 ) that we used for prototyping other projects we had.

HCube Printer
Prusa Mk3s printing face shield parts

HCube is a HyperCube printer that was adapted to be as stable as possible. Built with 20×40 v-slot profiles, e3dv5 hotend and linear rails on all axis. By far it’s the most stable 3d printer we built so far. And printing this shields will be a stress test for it. We will try to print with it 24 / 7 for as long as parts will be needed. We wanted to improve it a lot more ( and trying to produce it with Romania produced parts ) before we announce it, but given the situation we are putting it to work as it is.