So far have 3d printed 3 variants of faceshields. I’ll try to compare them. If you have feedback please add it to comments section below. So let’s start
- Model 1: Prusa model, at this point RC3 slim is the latest
- Model 2: Timisoara model ( See https://blog.tfm.ro/good-news-bad-news/ for more details )
- Model 3: verkstan model . This model is very efficient in terms of material consumed to print and can be printed very fast . Original design can be found here: https://3dverkstan.se/protective-visor/
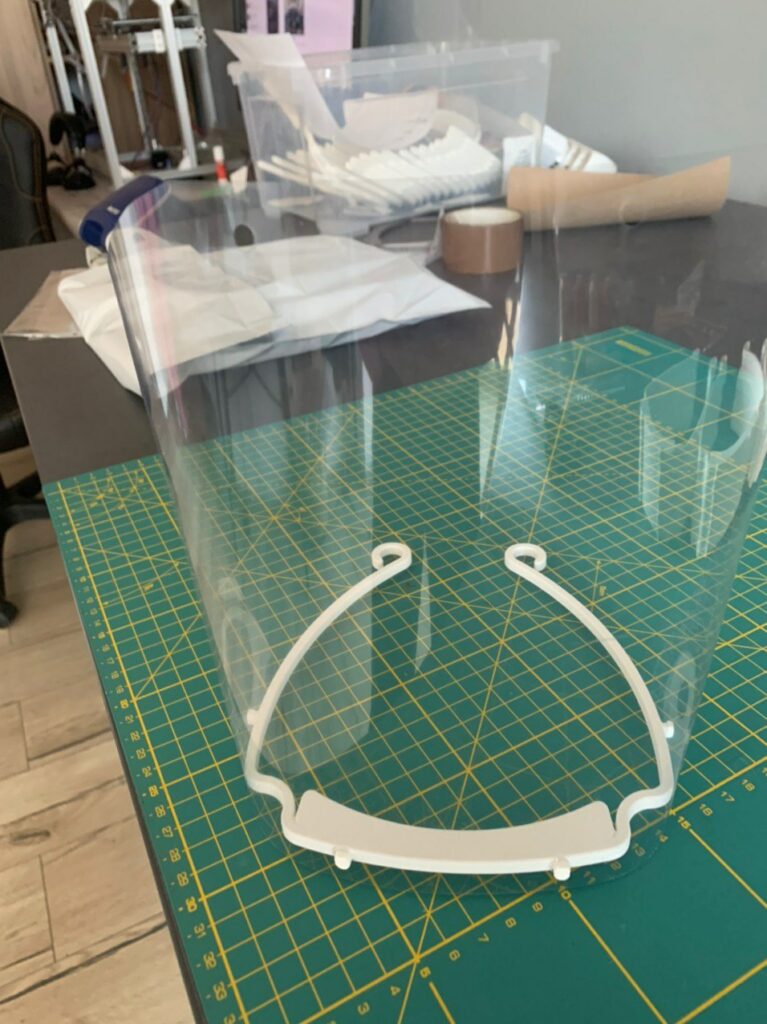
Model 3 – verkstan 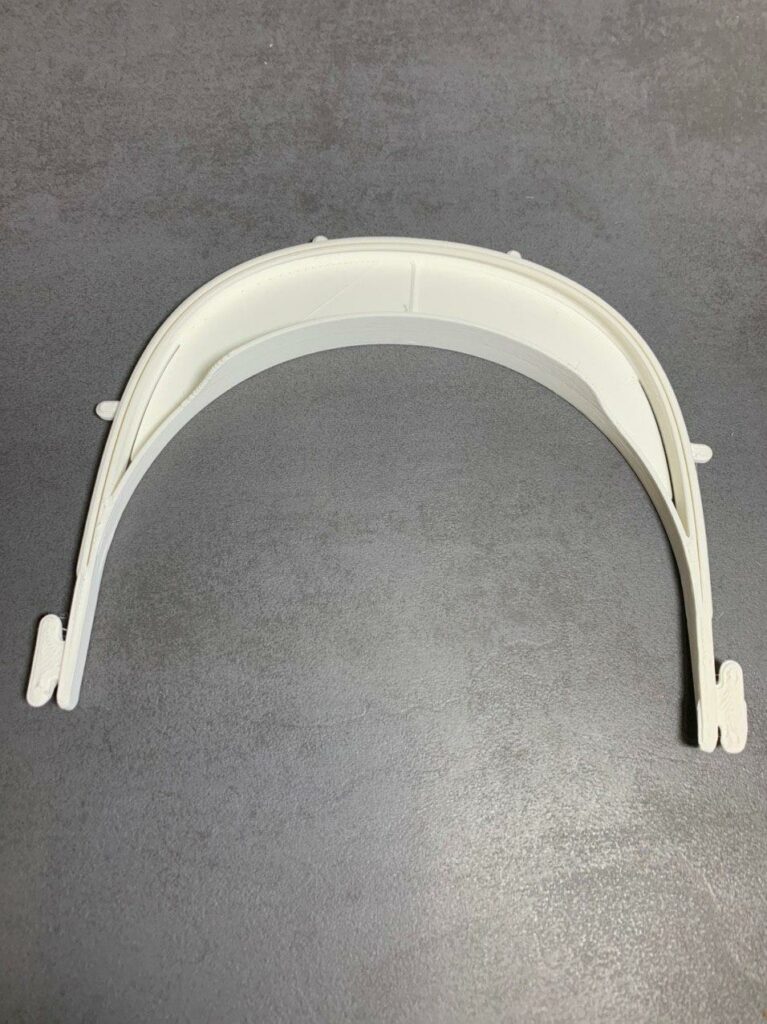
Model 2 – timisoara 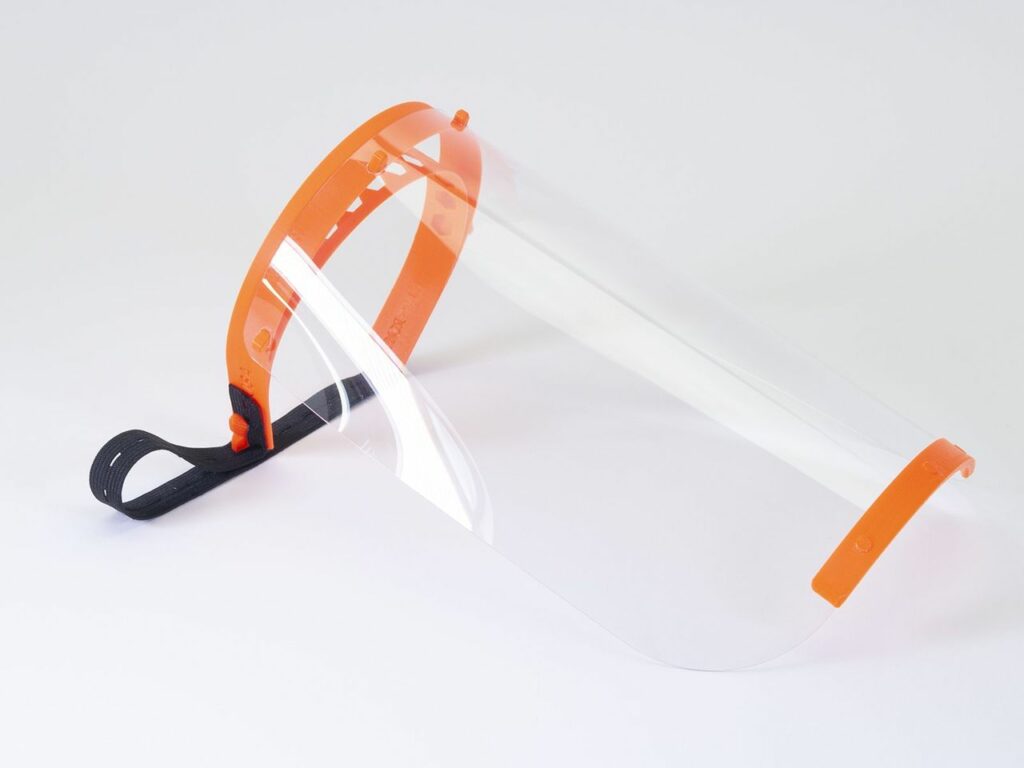
Model 1 – prusa
Let’s compare them:
| Time to print (min) | Number printed in 1 run | Material (g) | |
| Model 1 | 102 | 2 | 55.4 |
| Model 2 | 100 | 2 | 50 |
| Model 3 | 60 | 2 | 33 |
So. If need to produce a lot of them Model 3 seems to be the way to go.
Model 3 – verkstan:
Advantages:
- You can use 0.15 mm transparent A4 sheets ( or A3 sheets ( we had a request for a larger shield to protect also a part of the chest ) )
- No need for elastic band
- Easy to make the holes
- Easy to assemble
- Fast print
Disadvantages:
- Less sturdy than M1 or M2
- Are not adjustable vertically ( this is a strong point for M2 )
Model 2 – Timisoara
If you need to be able to adjust vertical length of the transparent sheet this is the way to go.
Advantages:
- Easy to use
- Easy to change transparent sheet
- No holes necessary
- Works with both PETG and A4 transparent sheets
Disavantages:
- Slower print time
Model 1 – Prusa
De facto standard when comes to open 3d printed face shield
Advantages:
- Very good production standard
- Easy to assemble
Disadvantages:
- Requires PETG sheets to be laser cut ( there are some tests to adapt A4 sheets to them but holes are hard to do )
- Requires elastic bands .
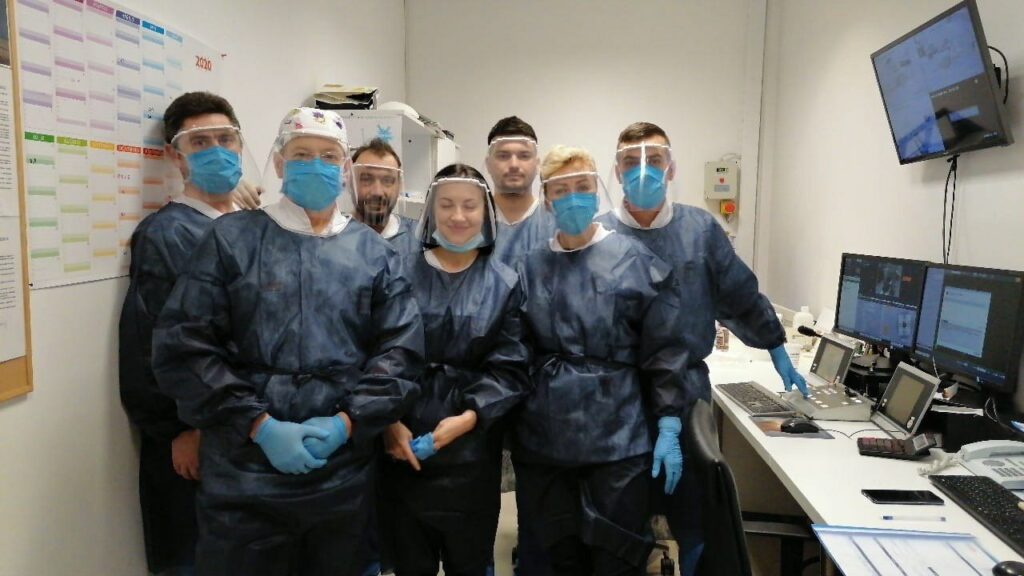
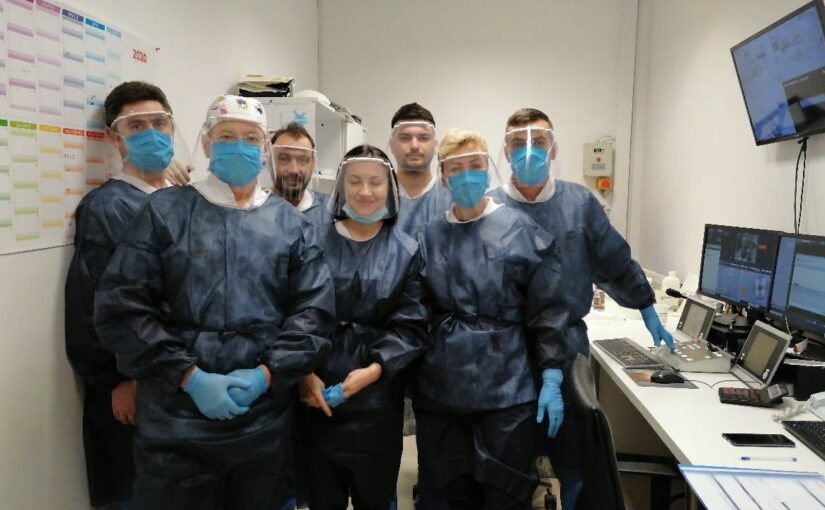
No matter what model is used, they all keep our doctors safer. So far we printed , manufactured and donated around 200 of them. Below some pictures from the field: